Mfr Part # 4500
CLUE NRF52840 EXPRESS
Adafruit Industries LLC
License: See Original Project 3D Printing Displays LCD / TFT
Courtesy of Adafruit
Guide by Ruiz Brothers
Overview
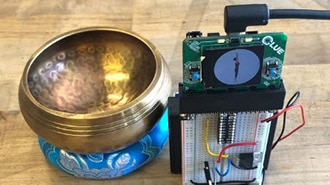
In this project we’re making a wearable case for the Adafruit Clue board!
The CLUE features the same shape and size as the BBC micro:bit so it’ll work with existing add-ons.
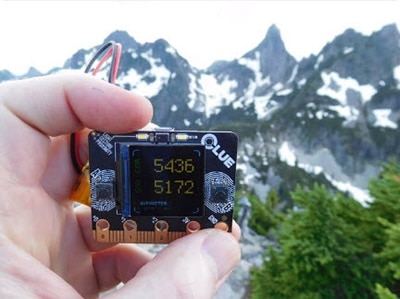
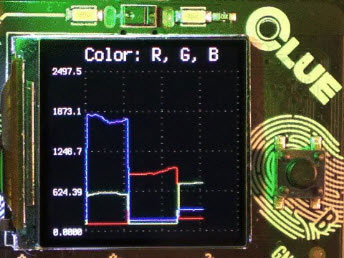
Adafruit Clue has a 1.3in IPS LCD color display with tons of sensors, so you can make projects with text and graphics!
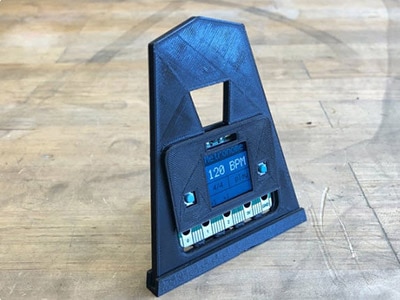
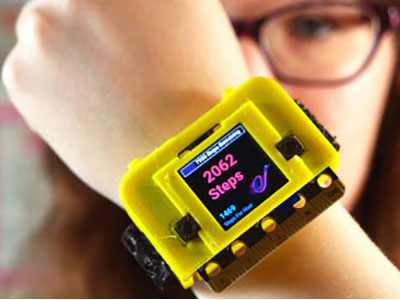
We designed and 3d printed a case for the CLUE, so you can easily wear it like a badge or watch.
It has enough room for a lipo battery, so you can make your projects portable.
You have access to the edge connector, so you can use the touch pads as controls for your projects.
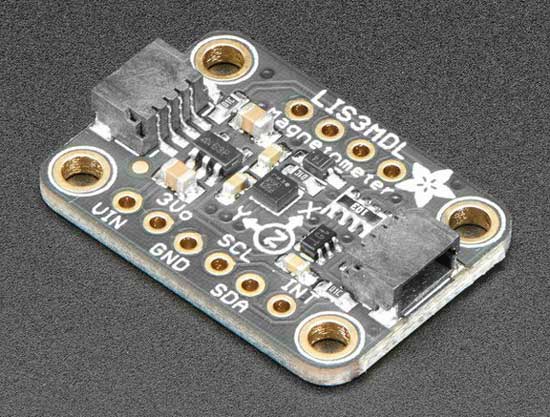
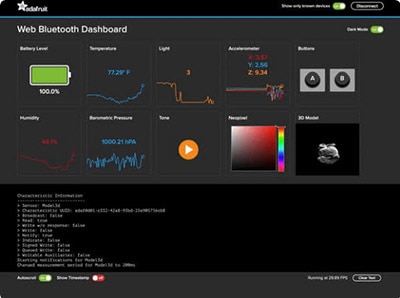
The CLUE is packed with sensors like an accelerometer, gyroscope magnetometer, barometric pressure, humidity, temperature, microphone, light, color, proximity and much more!
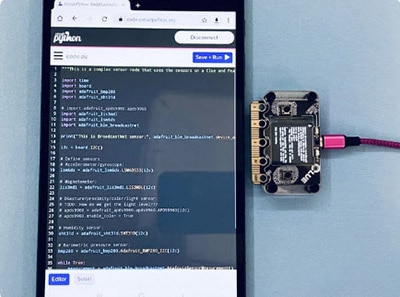
CLUE features the nRF52840 cortex M4 processor with 2mb of internal flash memory.
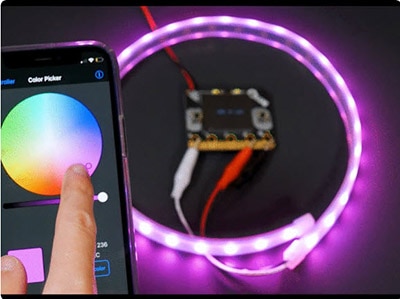
It also has a microphone, speaker, NeoPixel, and a STEMMA connector so you can plug and play even more sensors!
With Bluetooth, you can make wireless projects that can control your BLE devices.
So, you can control your phone using Apple’s Music Service to play, pause and even change the volume!
Parts
Lithium-Ion Polymer Battery Ideal For Feathers - 3.7V 400mAh
Breadboard-friendly SPDT Slide Switch
For a Badge - grab a lanyard
For 3D Printing
3D Printing
3D Printed Parts
STL files for 3D printing are oriented to print "as-is" on FDM style machines. Original design source may be downloaded using the links below.
clue-frame.stl
clue-case.stl
clue-lid.stl
clue-strapA.stl
clue-strapB.stl
Slicing Parts
Supports recommended around the lanyard ears and slide switch. Slice with setting for PLA material.
The parts were sliced using CURA using the slice settings below.
PLA filament 220c extruder
0.2 layer height
10% gyroid infill
60mm/s print speed
60c heated bed
Wrist band parts are optimized for flexible materials, rigid material will not allow the bands to fit.
Flexible bands
This design requires an extruder capable of printing with flexible materials. If you're using standard Ninjaflex material (85A shore hardness), we recommend printing slow, around 20 to 40mm/s with the extruder temperature set to 240c.
You can also use Cheetah Ninjaflex, which has a higher shore hardness (95A). The only difference will be in how flexible and how grippy the texture is.
Dual Color Bands
Print from 0mm to 0.8mm to print the first bottom color.
Then print from 0.8mm to 6mm to print the top colors of the band.
Retraction clean up
Flexible materials may need retraction disabled to print successfully, so we'll need to clean any leftover material around the slots and grooves on the bands.
Customize Watch Band
The design of the watch band can be adjusted using Autodesk Fusion 360. Change the parameters to adjust the width, length, and number of holes on the band.
Patterns
We can change the patterns for each band by editing the features in the timeline.
Assemble
The bezel is attached to the front of the case to keep the display nicely secured.
Use a drop of glue on each edge of the corners. Align the bezel to the light sensor (rectangle). A fan is helpful, so the glue doesn't haze the case.
Tabs on the end press fit into the slits on the side of the case.
The wristband with the nubs is pressed into the slits with the ends first. Orient the end vertically and press each end. Use pliers to pull the ends through the slits on the case.
Slide switch
Use a slide switch with a JST adapter to turn the Clue on and off.
Short the JST extension cable to 120mm long. Split the power (red) wire at 42mm and solder each end to the middle pin the on the slide switch and either the left or right pin.
Mount CLUE
Plug the JST cable into the CLUE. Carefully bend the wires and pass them between the JST port and the reset button.
Align the CLUE buttons to the cutouts on the case and press fit into place.
Insert slide switch
Angle the slide switch between the two walls and carefully press fit into place. You can gently pull the metal tabs on the slide switch to increase the tolerance.
Plug in battery
Plug the lipo battery into the JST extension. Use a small amount of sticky tac to adhere the battery to the CLUE. position the battery so it doesn't overlap the reset button.
Press fit lid
Make sure the battery and wires are away from the walls and reset button. Align the tabs on the case to the divots on the lid and press fit close.
Wear
The nubs on the wrist band press fit into the hole on the opposite band. Use the slit on the end to tuck in the bands and keep it nice and tight.
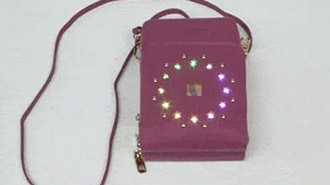
Badge
The case is also badge compatible! You can attach our lanyard to the cat ears and wear to your next conference!